
To crop an image into a shape in Google Slides, follow these steps:
- Open your Google Slides presentation and go to the slide where you want to insert the image.
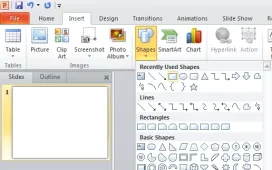
- On the Insert tab, click the Image button and select the image you want to use. The image will appear on the slide.
- Click on the image to select it, and then click the Crop button in the toolbar.
- In the Crop window, select the shape you want to use for the image. You can choose from a variety of shapes, such as square, circle, triangle, and more.
- The image will be cropped into the selected shape. You can resize the shape and move it to the desired location on the slide.
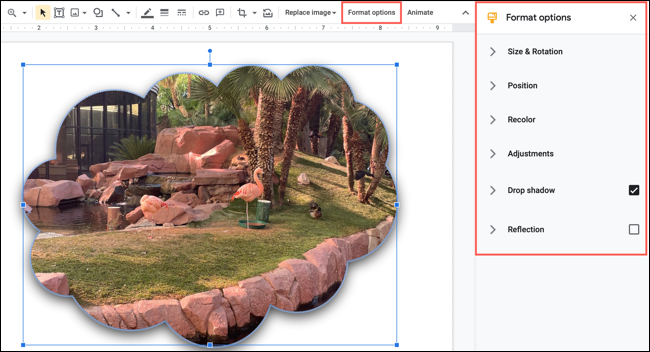
- To edit the image, right-click on it and select Format options from the context menu. This will open the Image options pane on the right side of the screen, where you can adjust the image’s brightness, contrast, color, and other settings.
- When you’re satisfied with the image, you can close the Image options pane and continue working on your presentation.
Overall, cropping an image into a shape in Google Slides is a quick and easy way to add visual interest to your slides and make your presentations more engaging.


